-
Open the Salesforce Data Loader.
-
From the Welcome screen select Insert:
Salesforce Data Loader displays a login screen.
-
Select Password Authentication as the login option.
-
On the login screen enter your username and password with security token.
TipBecause you are accessing salesforce.com from desktop client software, you must append your security token to your password:
-
If your password is mypassword
-
AND your security token is XXXXXXXXXX
enter mypasswordXXXXXXXXXX in the Password field
To get your security token:
- Select your user profile image, and then select Settings.
- From the My Personal Information menu, select Reset My Security Token.
An email containing a new security token is sent to your registered email address.
-
-
Select Log in.
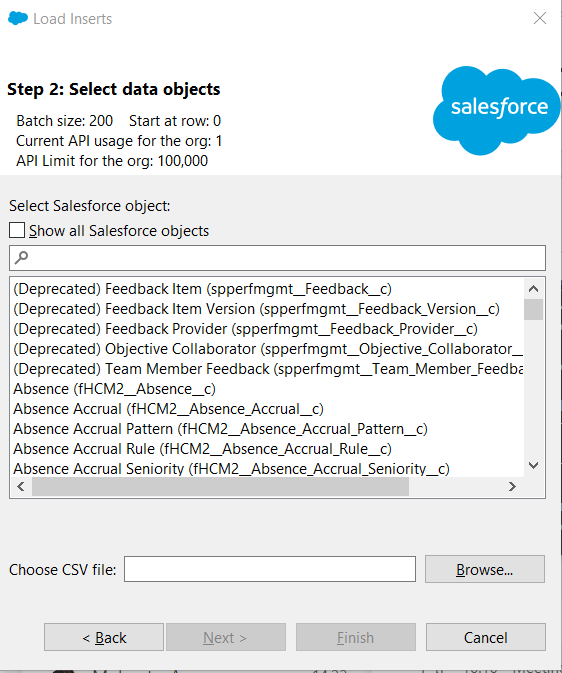
Salesforce Data Loader displays the Select data objects screen:
-
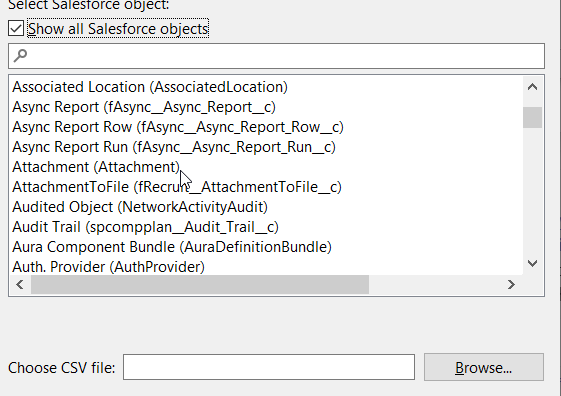
Select Show all Salesforce objects:
-
Scroll down the list of objects and select Attachment:
- Select Browse, find and select the CSV file that contains the list of attachments you want to add.
-
Select Next.
Salesforce Data Loader initializes the file and confirms the number of records it has found in the file.
-
Select OK.
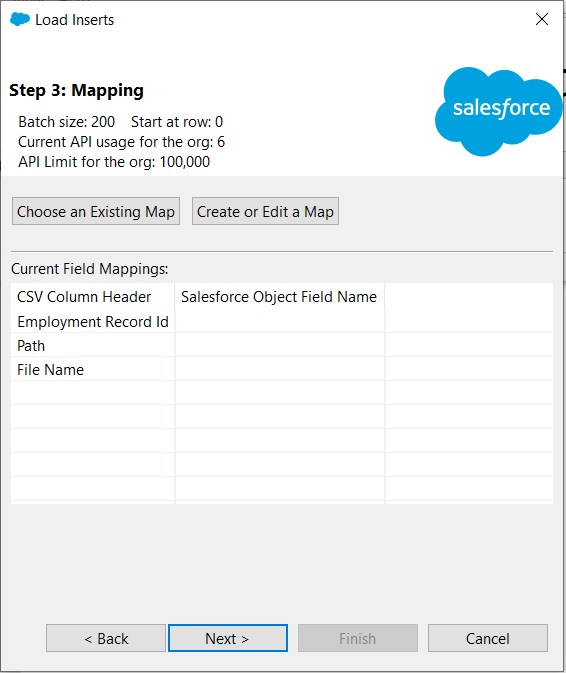
Salesforce Data Loader displays a Mapping screen:
-
Select Create or Edit a Map.
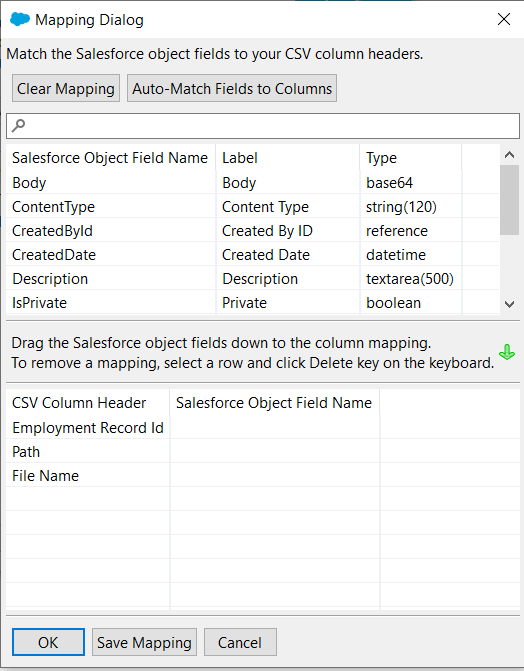
Salesforce Data Loader displays a Mapping Dialog with Salesforce fields listed so that you can map them to the fields in your CSV file:
-
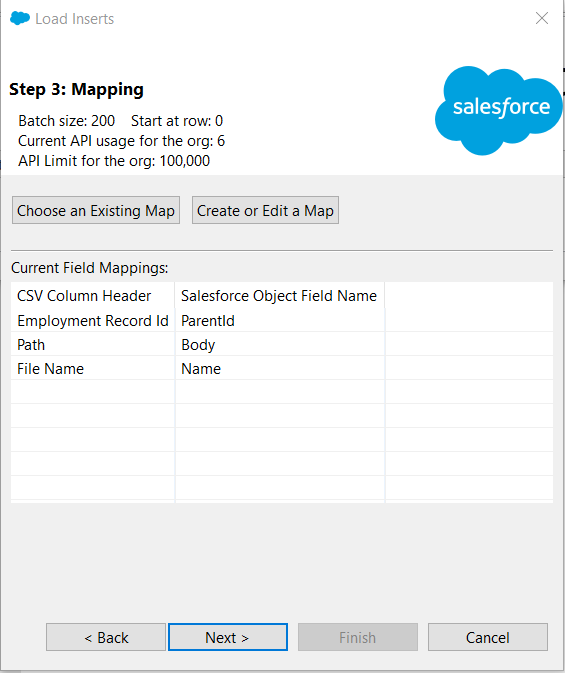
Drag and drop the Salesforce fields from the top panel onto your fields in the bottom panel to set up the following mapping, for example:
Your CSV file column
Salesforce field name
Description
Employment Record ID
ParentId
The identifier that links an attachment to a Sage People team member.
Path
Body
The path to the attachment file location.
File Name
Name
The name of the attachment file.
-
Select Save Mapping to save a copy of the mapping for future use.
-
Select OK.
Salesforce Data Loader displays the Mapping screen with your newly defined mapping added:
-
Select Next.
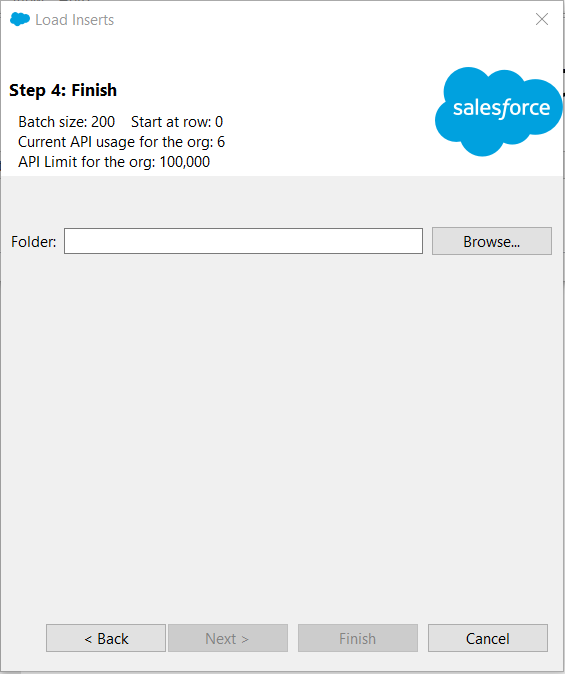
Salesforce Data Loader displays the Finish screen:
-
Select Browse..., find and select the folder for your success and error files.
-
Select Finish.
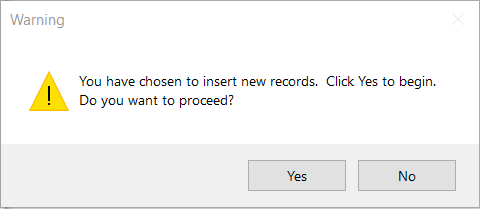
Salesforce Data Loader asks you to confirm that you want to insert new records:
-
Select Yes.
Salesforce Data Loader works through your CSV file, loading the attachments it can successfully locate and attach to an employment record. Salesforce Data Loader displays progress information followed by an Operation Finished dialog with buttons to View Successes and View Errors:

Successful loading adds an attachment to a team member's employment record for each line in the CSV file.
-
Select:
-
View Successes to display the insert log file listing attachments successfully applied.
-
View Errors to display the error log.
-
OK to close the dialog and return to the Welcome screen.
-
-
Open Sage People HCM and check a sample of your team members to make sure the attachments have been correctly applies to their employment record Notes & Attachments related lists.
