Import with dataloader.io
-
Prepare your file and remove examples, guidance rows or columns and the API names, leaving only the field names and the data.
-
Save the file as a .csv file.
-
Log out of all Salesforce orgs other than the org into which you want to import. Ensure you log out of the orgs by going to your name in the top right corner and selecting Logout rather than just closing the browser:
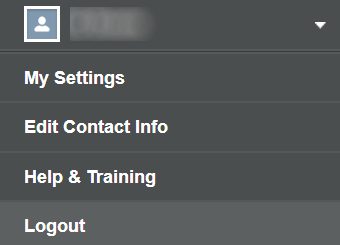 Warning
If you do not log out, Salesforce Dataloader.io can automatically log you in to the wrong org.
-
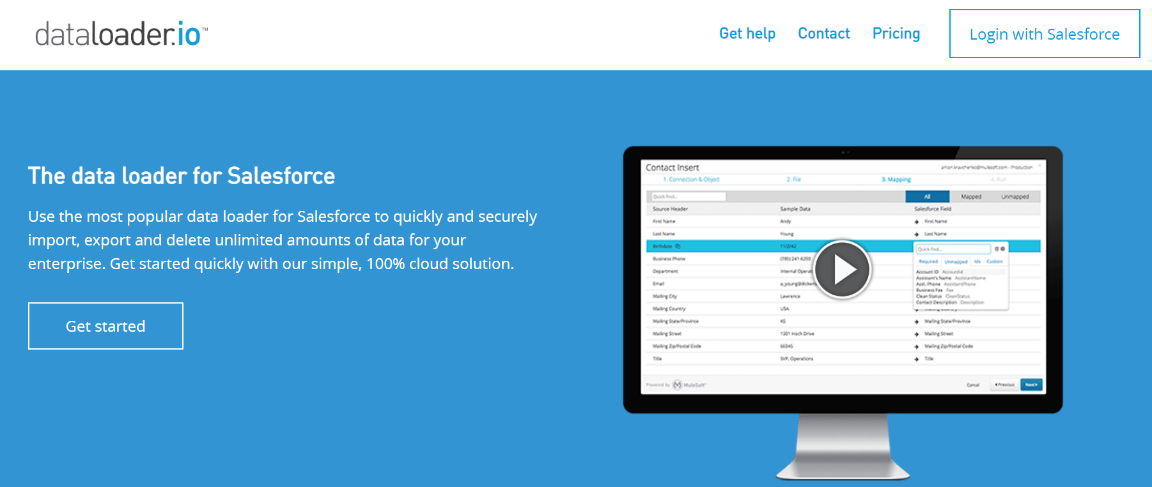
Open a new browser window and enter in "dataloader.io" in the address bar.
-
From the top right corner, select Login with Salesforce:
-
On the login dialog, if the org into which you want to import has a custom Salesforce domain, select I have a custom domain, and enter the custom domain in the text field.
-
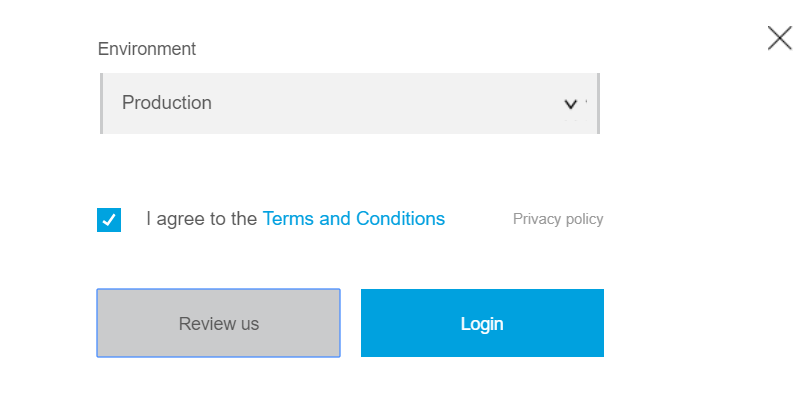
Select the environment as either Production or Sandbox, and then check the Terms and Conditions box.
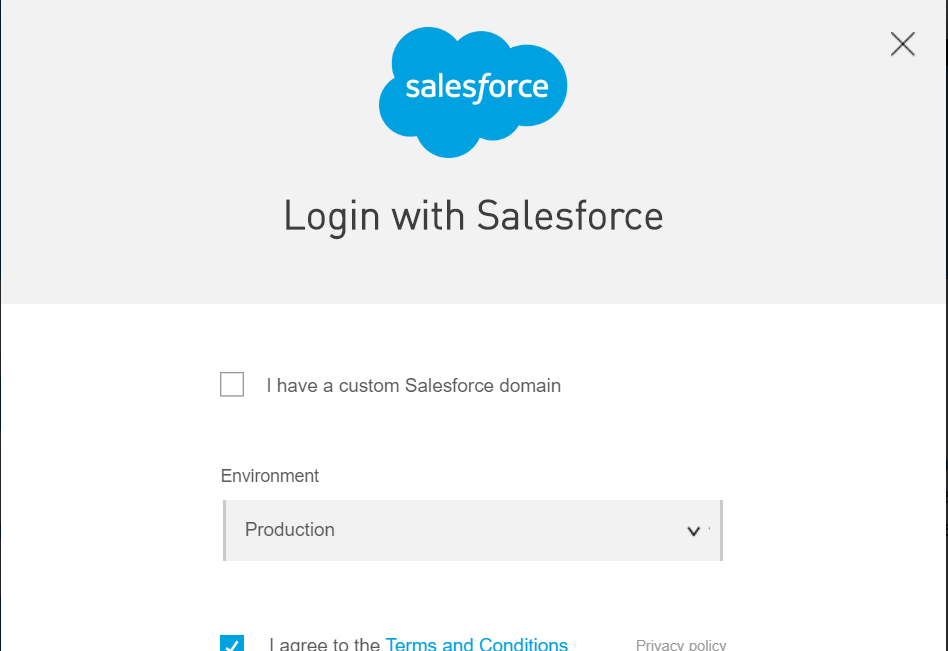
Select Login:
-
If you are not logged into any Salesforce orgs, you are prompted to enter the username and password. After logging in, check the username in the top right hand corner to make sure you are logged into the correct org.
-
If you are updating existing data, export a backup in case you need to refer to it later, see Exporting with Salesforce Dataloader.io for more information.
-
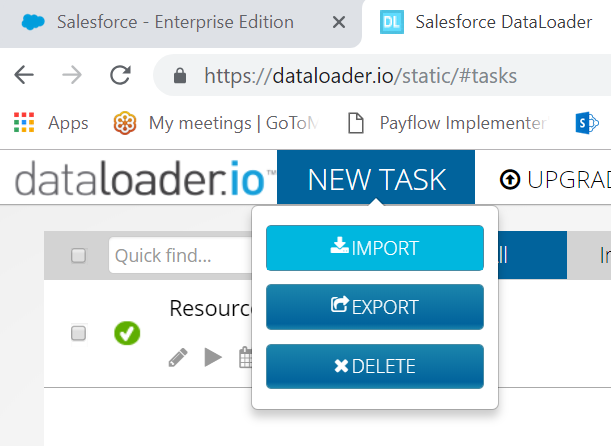
From the New Task menu select Import:
-
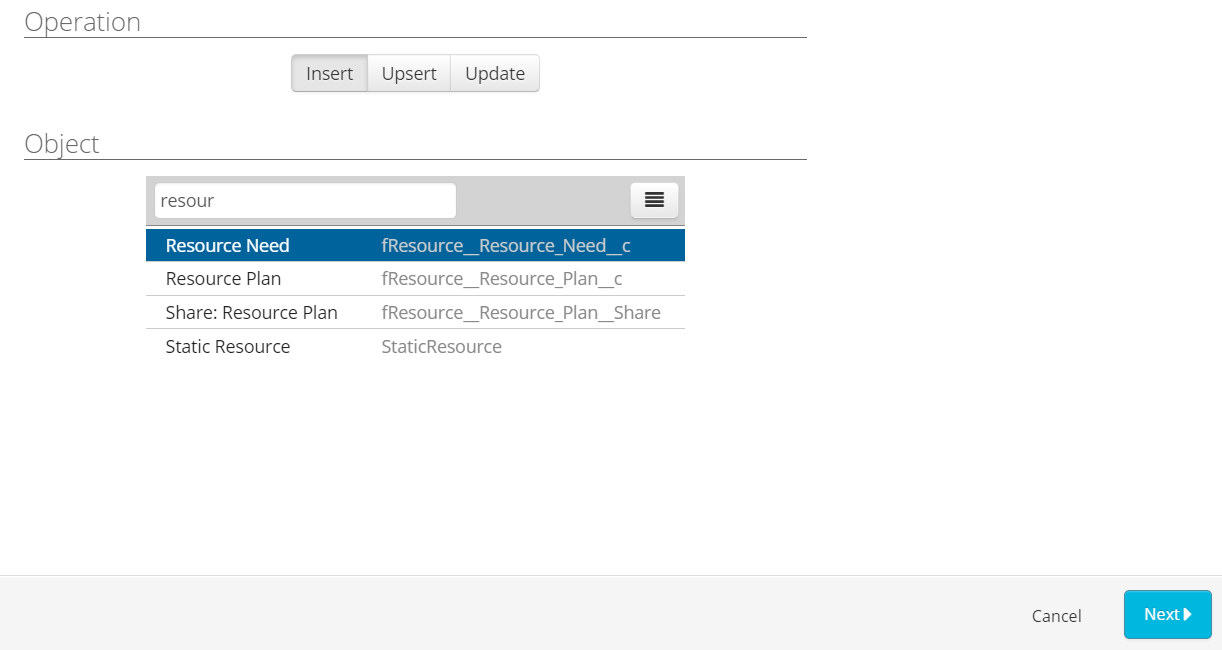
Select Insert, Upsert or Update and select the object into which you want to import records. You can start typing the object name in Quick find to narrow the results and find the object quicker.
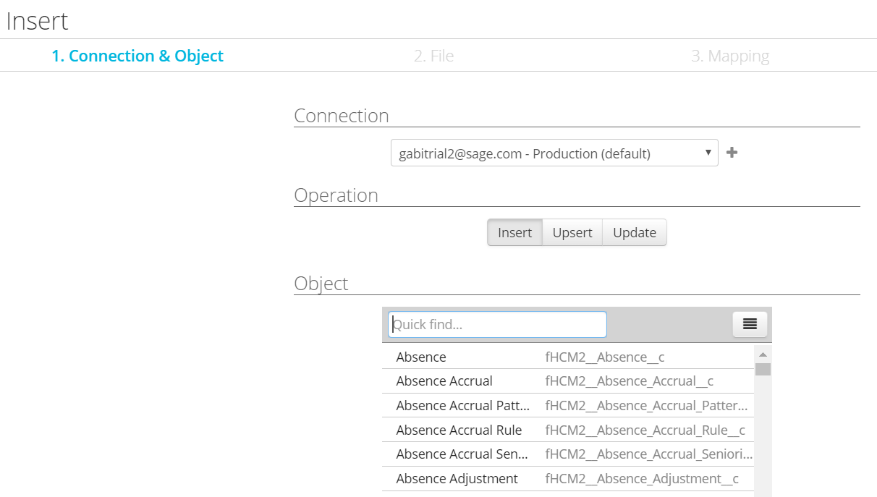
After selecting the object, select Next:
-
Upload your CSV file by dragging and dropping it to the upload area or by selecting Upload csv and navigating to your file.
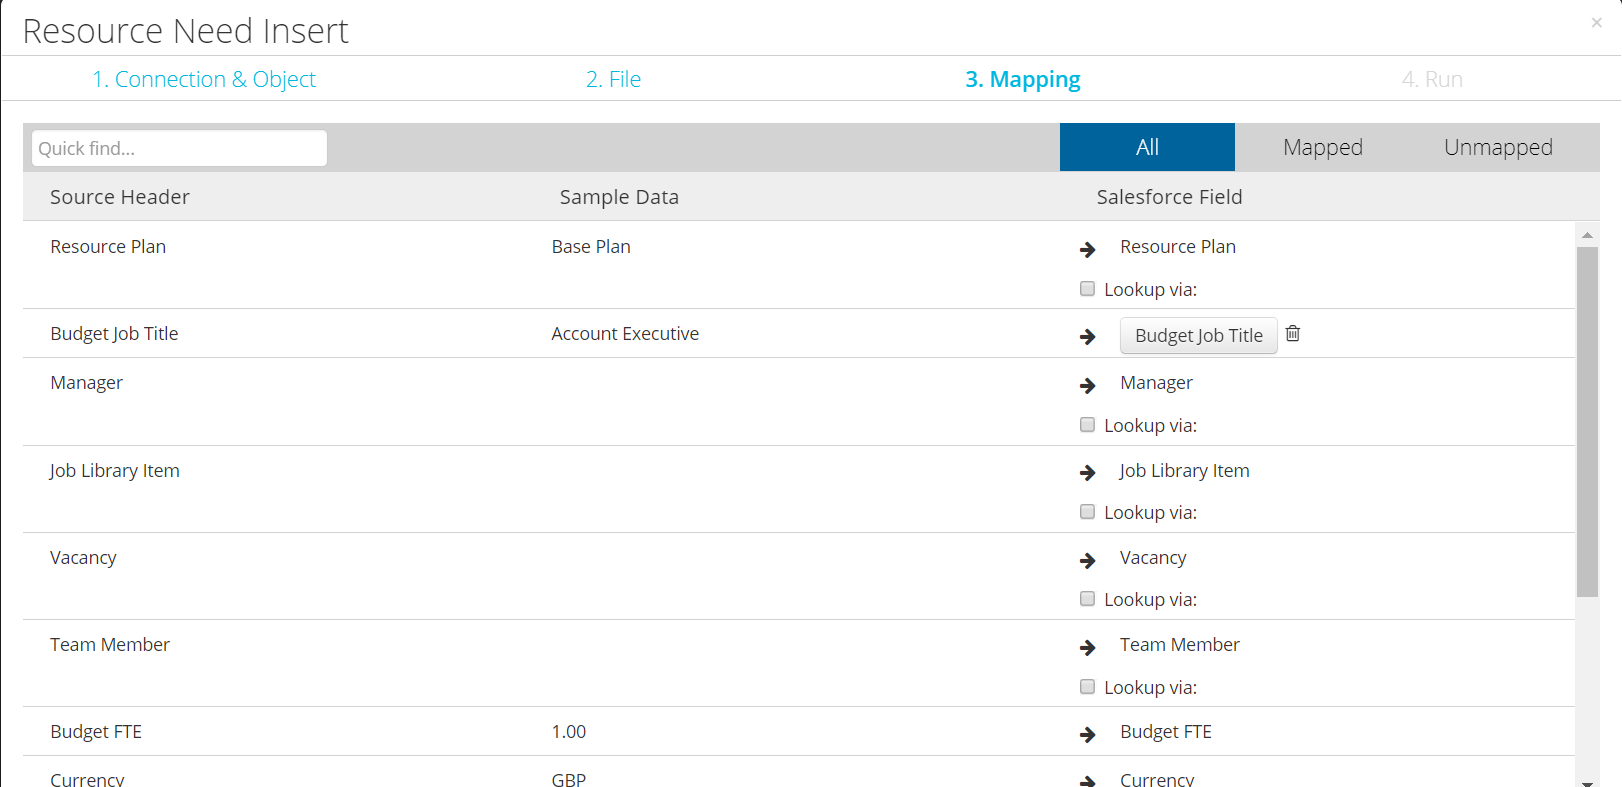
A window displays with the mapping for your file, with fields mapped to the extent Dataloader.io was able to do it automatically:
-
Check the mapping is correct:
-
To remove an incorrectly mapped field select the Delete field mapping icon next to it.
-
If your file has columns you do not want to upload, you can leave them unmapped.
-
To map a field, select the Salesforce field column, and then select the field to map the column to.
-
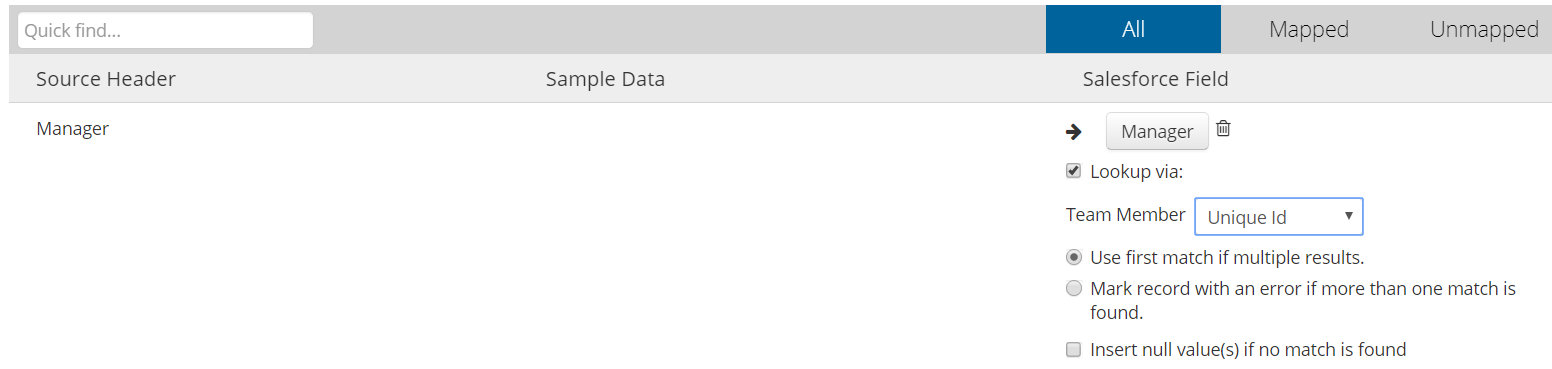
For any lookup fields that are not Salesforce IDs in your CSV file, check the Lookup via checkbox and select the field on the lookup object that you have in the column in the CSV file.
A field for mapping needs to be unique, such as the Unique ID for Team Members.Specify how duplicates are handled by selecting Use first match if multiple results or Mark record with an error if more than one match is found.
It is best practice to use the latter. Check Insert null value(s) if no match is found if required.
-
-
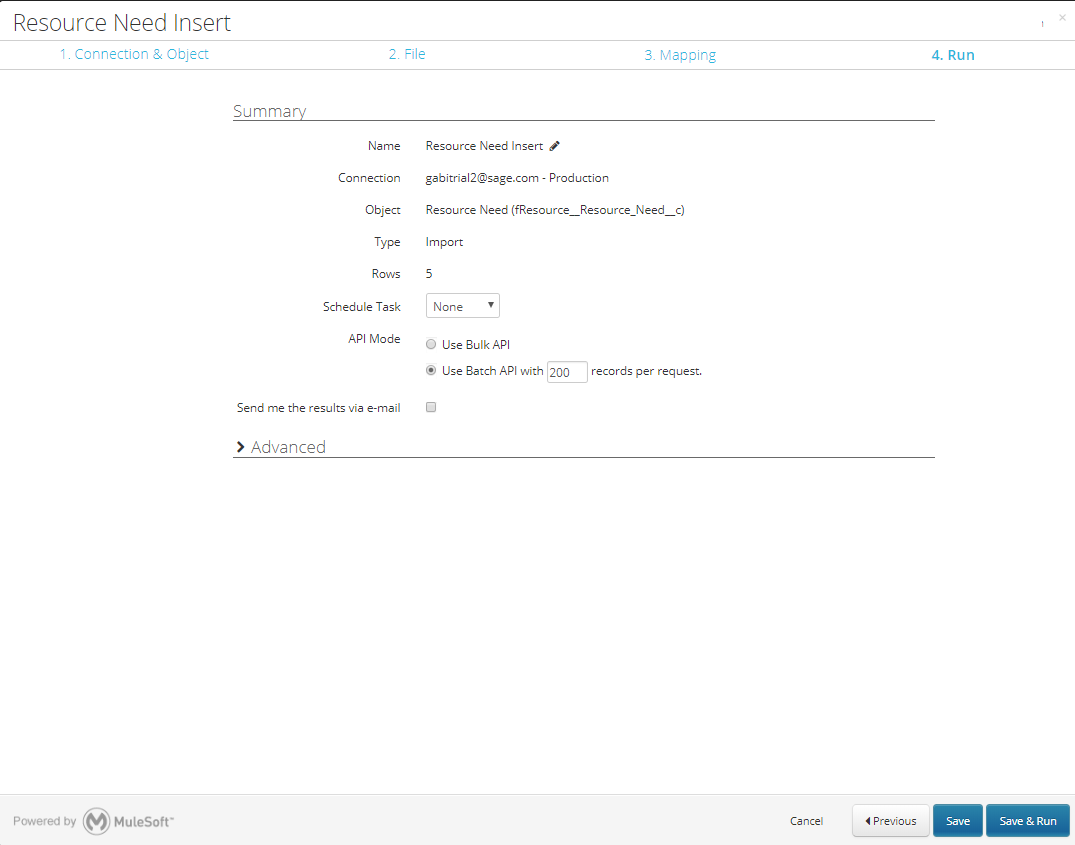
After completing the mapping select Next:

The following screen displays with details about how many rows will be imported:
-
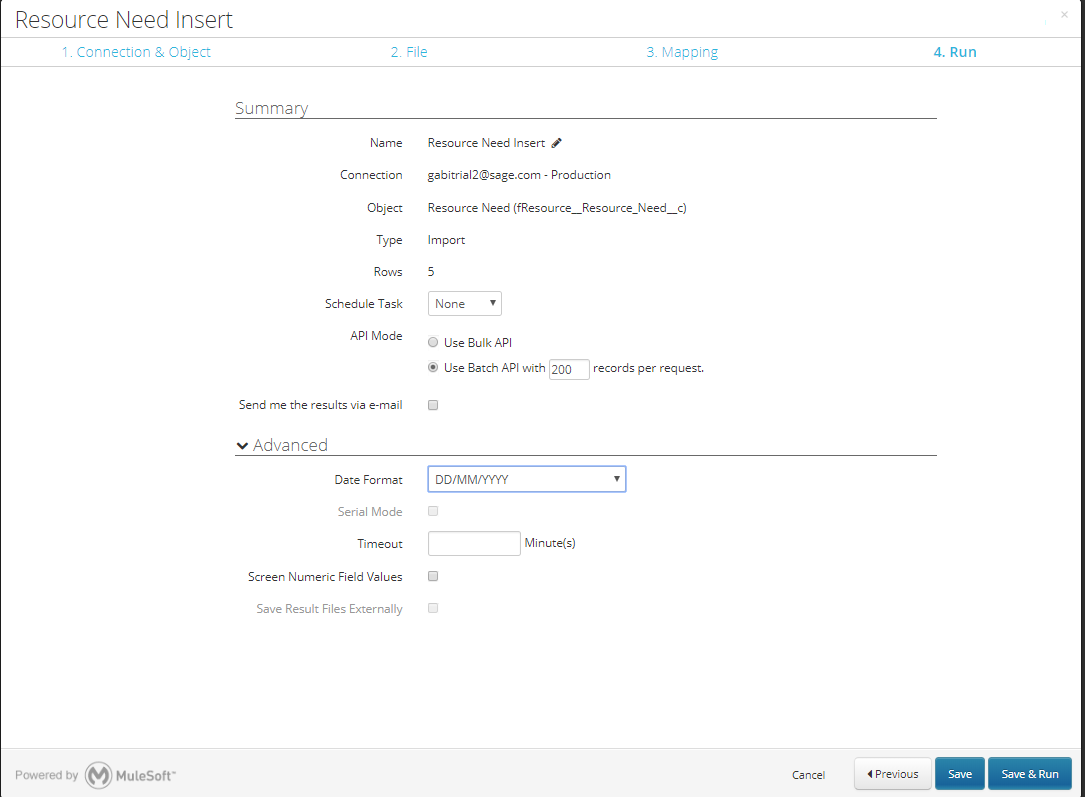
If you have any dates in your CSV file, select the Advanced section. Salesforce Dataloader.io default date format is MM/DD/YYYY. If the format in your CSV file is different, select the date format you require:
-
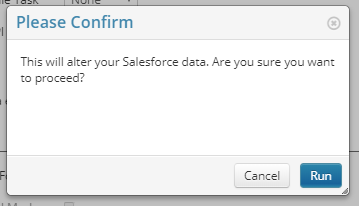
Select Save & Run and then Run.
A progress screen displays:

Your import is listed at the top and while running displays as queued. You may have to refresh the page. After the job has completed, the screen displays either successes or errors:

Unlike Sage People Data Loader, Salesforce Dataloader.io loads successful records and not the rest.