- In the HR Manager Portal, select the WX Services tab.
- Select the WX service that you want to host the summary. This must be a WX homepage service. Or a service that hosts only Internal Communications and/or summaries.
-
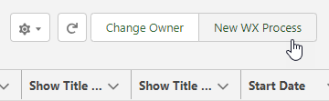
On the WX Service page, under WX Processes, select New WX Process.
-
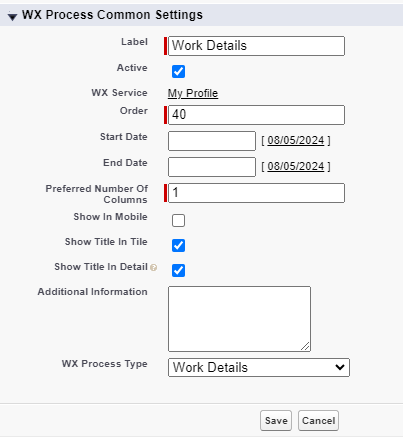
On the WX Process page, give the process a descriptive Label. The WX summary tile uses the label.
-
Give the process an Order, a numerical value with no decimal places. This defines the order in which the process is displayed in its service menu, relative to other processes.
-
Select Show In Mobile if you want the process to be available in the mobile browser version of WX.
-
Leave Show Title in Detail checked to display the process label as the Personal Details page title. If unchecked, the Personal Details page displays the default custom label Work Details.
-
Select the WX Process Type as Work Details.
Leave the other fields blank or set at their defaults unless you have a requirement to adjust other settings for the process.
-
Select Save.
Configuring fields for Work Details
You can define which fields appear on the page and which fields can be edited by team members as part of the Work Details process.
Configure available fields using field sets in the Team Member object. Fields can be configured as follows:
-
View: fields that appear on the process page but cannot be edited. Use the WX Work Details View field set.
-
Edit: fields that appear in the edit page and can be changed by team members. Use the WX Work Details Edit field set.
See Field sets.
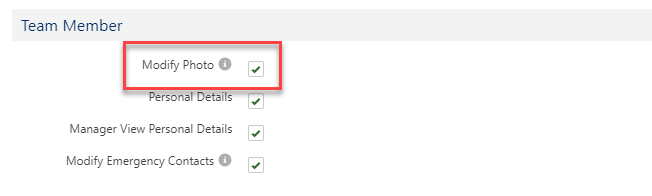
Allow team members to update their photo
Team members can update their profile photo in the Work Details process if the Modify Photo setting is selected in their policy.