Set up the Summary process contents from the Sage WX Process Detail page.
- In the HR Manager Portal, select the WX Services tab.
- Select the WX service that you want to host the summary. This must be a WX homepage service. Or a service that hosts only Internal Communications and/or summaries.
-
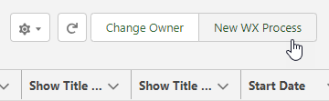
On the WX Service page, under WX Processes, select New WX Process.
-
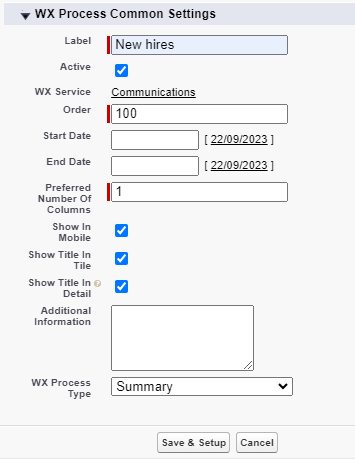
On the WX Process page, give the process a descriptive Label. The WX summary tile uses the label.
-
Give the process an Order, a numerical value with no decimal places. This defines the order in which the process displays on the page, relative to other summaries of the same type.
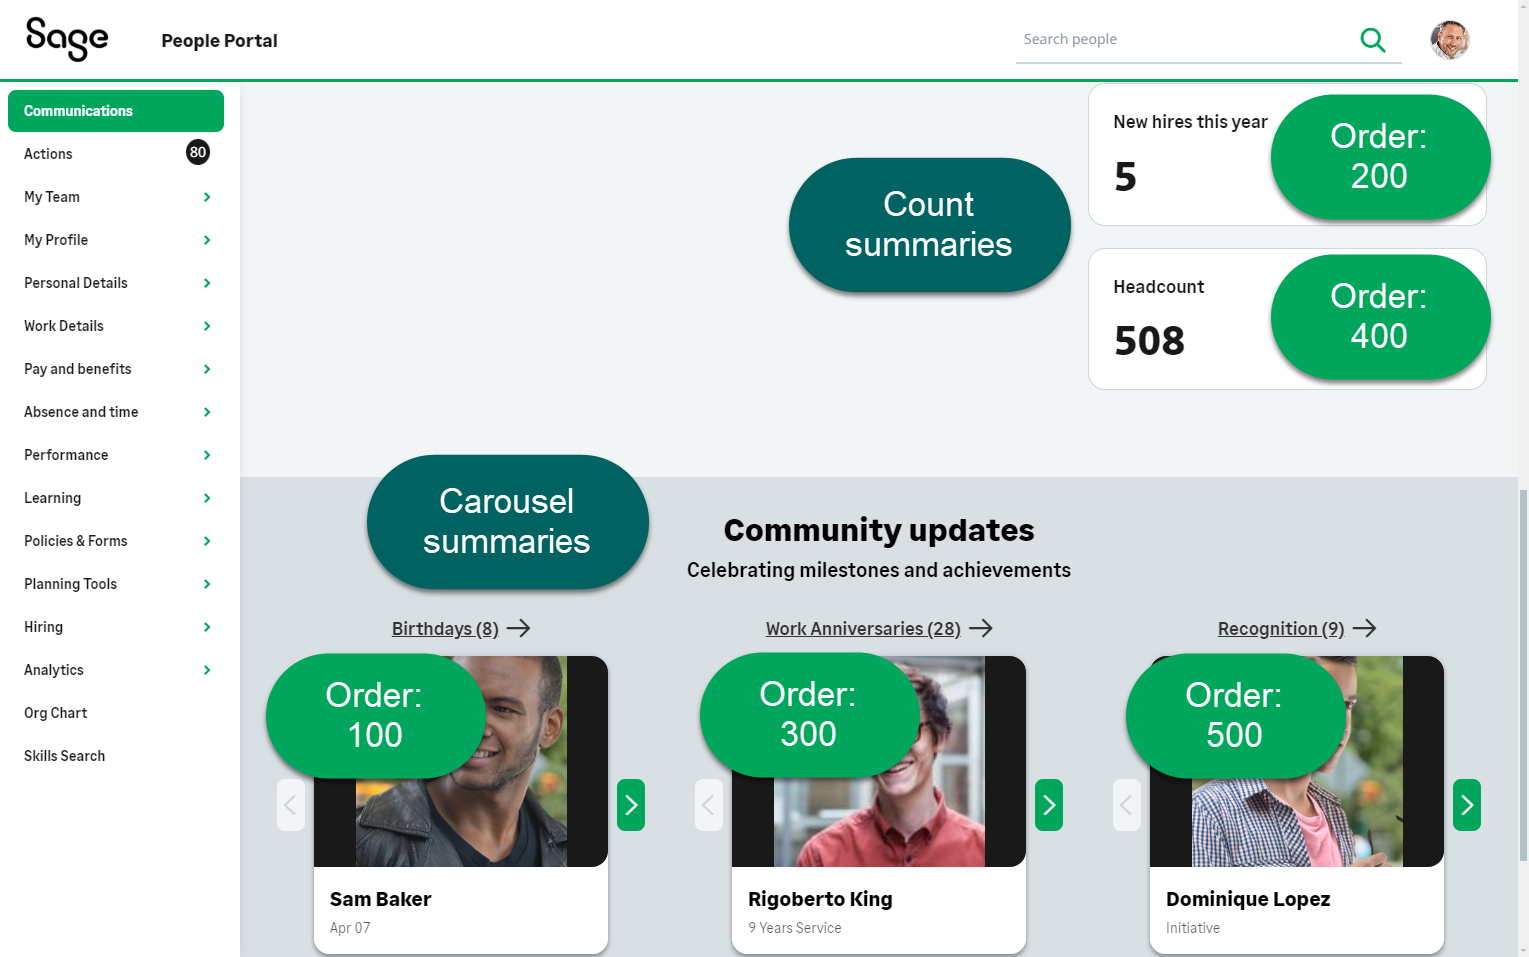
The system groups all summaries towards the bottom of the homepage, beneath other homepage components:
-
Count summaries stack at the bottom of the homepage, just above the "Community updates" section. All count-type summaries display according to their process order, relative to other count summaries. For example, a count summary with order 200 shows before a count summary with order 400
-
Carousel summaries group in their own "Community updates" section at the foot of the page. All carousel-type summaries display according to their process order, relative to other carousel summaries. For example, a carousel summary with order 100 shows before a carousel summary with order 300
We've given this example below.
-
-
Select Show In Mobile if you want the process to be available in the mobile browser version of WX.
-
Leave Show Title in Detail checked to display the process label as the detail page title. If unchecked, the detail page displays the default custom label Summary.
-
Select the WX Process Type as Summary.
Leave the other fields blank or set at their defaults unless you need to adjust other settings for the process.
-
Select Save & Setup.
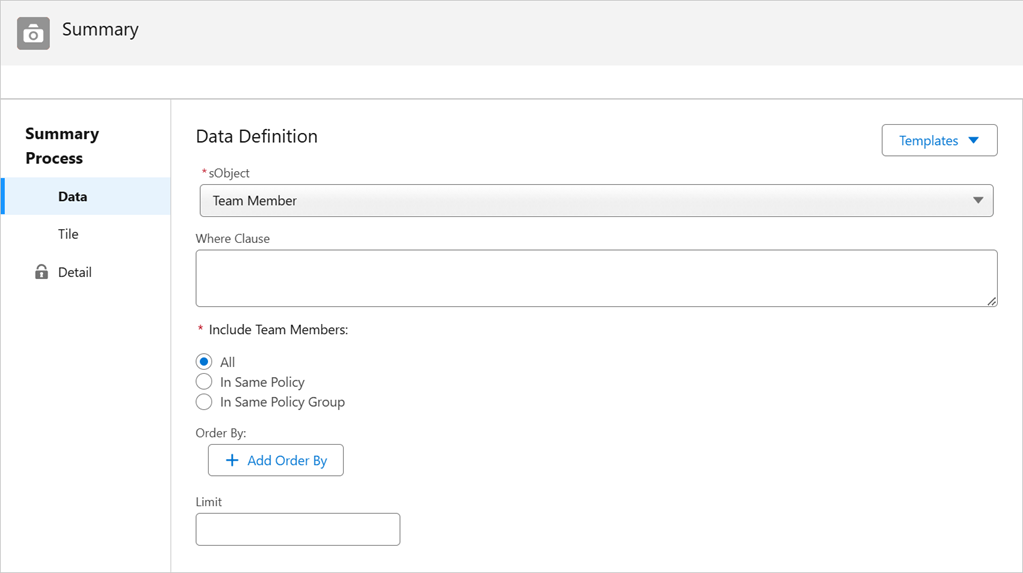
Sage People displays the Setup page for Summary Process:
-
Complete the fields on the Data tab as follows:
Field What to enter Templates Select a template for the Summary process. You can adjust the data the template populates to your needs. The following templates are available:
- Employee Counter
- New Hires
- Upcoming Birthdays
- Upcoming Work Anniversaries
- Recognitions
For more information about the available templates, see Summary Process Templates.
The system includes preboarders by default by these template queries. To exclude them, refer to the tip for Where Clause below.
sObject The object acting as the source of data for the Summary process.
The template populates this.
If you have no template selected, choose from:
- Team Member
- Recognition
Where Clause Salesforce Object Query Language (SOQL) statement to define which data it selects for the Summary.
The template populates this and you can adjust the contents of this field to suit your needs.
If you have no template selected, enter your own Where Clause. Refer to Salesforce documentation for guidance and examples on how to construct your Where Clause.
This field has a limit of 255 characters.
Use caution when crafting your clause. An incorrectly formatted Where Clause entry can cause the service page to fail to display. If you adjust a template Where Clause or enter your own, the WX page can fail to load properly. Check the clause and correct any errors.
TipTo exclude preboarders from your query, you can add a statement to your Where Clause. Add a statement like the following:
AND fHCM2__Employment_Status__c != 'Preboarder'This excludes team members whose employment status doesn't match the value 'Preboarder' in the fHCM2__Employment_Status__c field. Be sure to check the value you use for preboarders in your organization.
It's possible to configure an opt out option for team members to choose whether they want to appear in summaries. See Team member opt-out.
Include Team Members Radio buttons. Select if a team member viewing the summary in WX sees data about:
-
All: All team members in your org
-
In Same Policy: Only team members who you assigned the same policy as the viewing team member
-
In Same Policy Group: Only team members who you assigned a policy in the same policy group as the viewing team member's policy
Order By Optional. The fields for ordering the summary data.
Populated by the template, you can:
- Select Add Order By to add another ordering rule
- Select Delete next to a rule to remove it
If you have no template selected, select Add Order By to add your own rule if you want to order data.
Select the field to use for record ordering, whether to use ascending or descending order, and whether NULL values will display first or last.
Limit Optional. The maximum number of records for the summary process. Only applies to summary processes where the Tile Type is Carousel.
The template populates this and you can adjust it to suit your needs.
Due to Salesforce processing restrictions, 1000 is the maximum limit.
-
Complete the details on the Tile tab as follows:
Field What to enter Tile Type How the Summary displays on the Tile in WX. You can choose from:
-
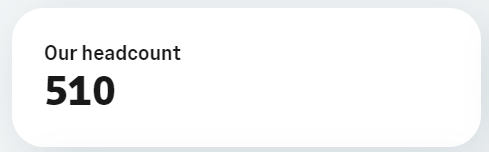
Count
The total number of Team Members or Recognitions meeting the selection criteria in the Where Clause. For example:
-
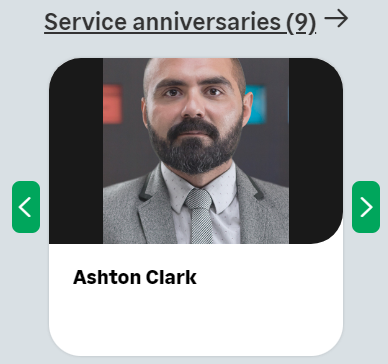
Carousel
A changing carousel display of the Pictures of Team Members meeting the selection criteria in the Where Clause. Displays the Team Member picture, name, and contents of the Extra Field, if you configure it. The WX user can use the arrows to move left or right. For example:
TM Picture Alignment Not in use.
Extra Field Optional.
When you select the Carousel Tile Type, select a field from the Team Member object to display alongside the Team Member name below the Team Member picture.
Foreground Color Not in use.
Background Color Not in use.
-
-
Complete the details on the Detail tab as follows:
Field What to enter Use Details Select the toggle to enable Detail view. When you enable Detail view, the Tile displays a View Details link, and WX users can view the selected fields on the Detail view.
If you only want to display a count on the Tile, leave the toggle at Inactive.
Message to Self Not in use.
Select Fields Fields from the Team Member or Recognition object to display on the Detail view.
Select a Field in the Available Fields panel and use the arrows to move to the Selected panel. Use the up and down arrows to order the fields in the Selected panel.
We don't support Lookup fields on the Detail view.
-
Select Save.
Sage People displays the WX Service where you created the WX Process.
-
Go to WX to view the Summary process.
NoteIf you adjust a template Where Clause or enter your own, the WX page can fail to load properly. Check the clause and correct any errors.