You'll perform the following steps in Microsoft Azure. Your Azure admin will require your organization's Sage People custom domain URL.
Custom domains are in the following form:
-
[yourorg].my.salesforce.com
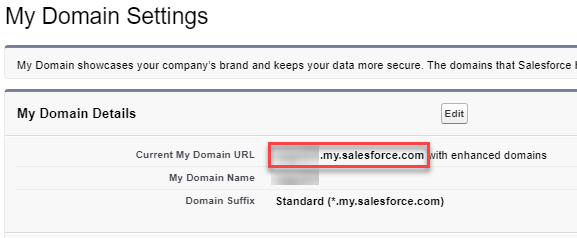
You can find your organization's custom domain by going to Setup, selecting Company Settings and then clicking My Domain:
Someone with administrator access to your Microsoft Azure account must perform these steps. Depending on your organization, this could be an IT administrator, or a third party that manages your Microsoft Azure settings.
Register a Calendar integration app
You must create an app for Outlook calendar integration in your Microsoft Azure account. This app provides some details such as who can use the integration, and your organization's unique custom domain.
-
Sign in to your Microsoft Azure account as an administrator.
-
Go to Identity, then to Applications and select App Registrations.
Select +New registration.
-
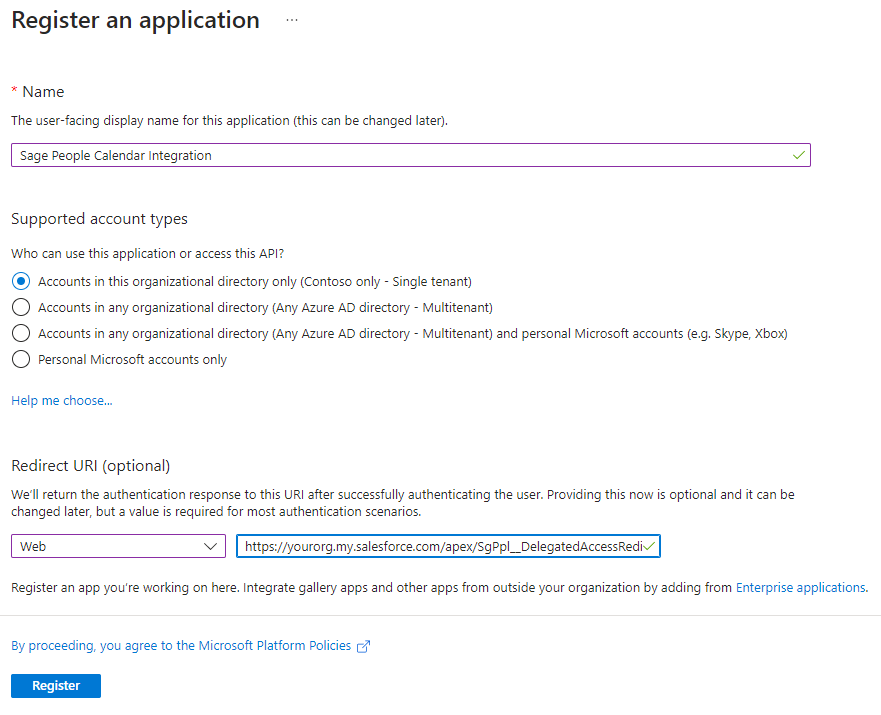
Complete the required information as follows:
-
Name: give the app a descriptive name, such as Sage People Calendar Integration
-
Supported account types: select Accounts in this organizational directory only
-
Redirect URI: select Web and enter the URI for your organization. This consists of your organization's custom domain, and a URL path, in the form shown below:
Copyhttps://<custom_domain_URL>/apex/SgPpl__DelegatedAccessRedirectFor example:
https://yourorg.my.salesforce.com/apex/SgPpl__DelegatedAccessRedirectFind your organization's custom domain by going to Setup, selecting Company Settings and then clicking My Domain.
What is a custom domain?Custom domains are in the following form:
-
[yourorg].my.salesforce.com
You can find your organization's custom domain by going to Setup, selecting Company Settings and then clicking My Domain:
-
-
- Select Register to create the app.
Copy the client ID and tenant ID
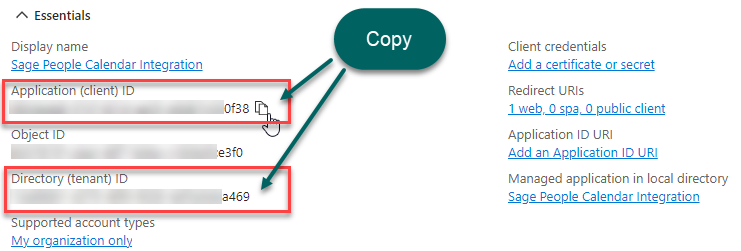
Make note of the client ID and tenant ID for the app. You'll need these values to connect your Sage People organization to your Azure account.
-
Go to App registrations and select the app you just created.
-
Copy the following values for the app and store them safely. You’ll need these values later.
-
Application (client) ID
-
Directory (tenant) ID
-
-
If you're setting up the Azure integration on behalf of a Sage People administrator, ensure you pass these details to them. They'll need these details as part of Sage People setup. See Add Azure details to Sage People.
Create a client secret
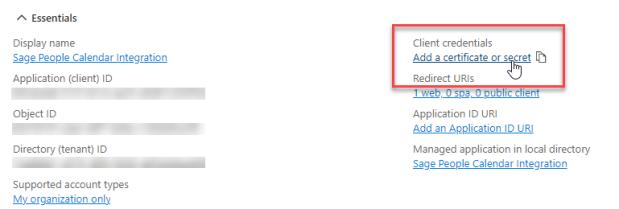
Create a client secret you'll use to authenticate your Sage People organization when it connects to Microsoft Azure.
- Go to App registrations and select the app you’ve created.
-
Select Add a certificate or secret.
-
Select +New client secret.
-
Enter a Description for the secret, such as Sage People Calendar Integration.
Set the Expires value for the secret. We recommend you select a value of 12 months or less.
Remember to create a new secret before it expires, and update this in your Sage People organization. See Add Azure details to Sage People.

-
Select Add. The client secret displays. Ensure you copy the secret Value and store it safely. You'll need this value later.
Important The client secret value only displays immediately after creating it. Ensure you copy the value before leaving the page. -
If you're setting up the Azure integration on behalf of a Sage People administrator, ensure you pass the client secret value them. They'll need this as part of Sage People setup. See Add Azure details to Sage People.
Add API permissions
You must grant permissions for the app to read from and write to the Outlook Calendar for your Active Directory users. You'll need these permissions to generate Calendar entries for Sage People events.
-
Go to App registrations and select the app you've created.
In the left menu, select API permissions.
-
Select +Add a permission.
-
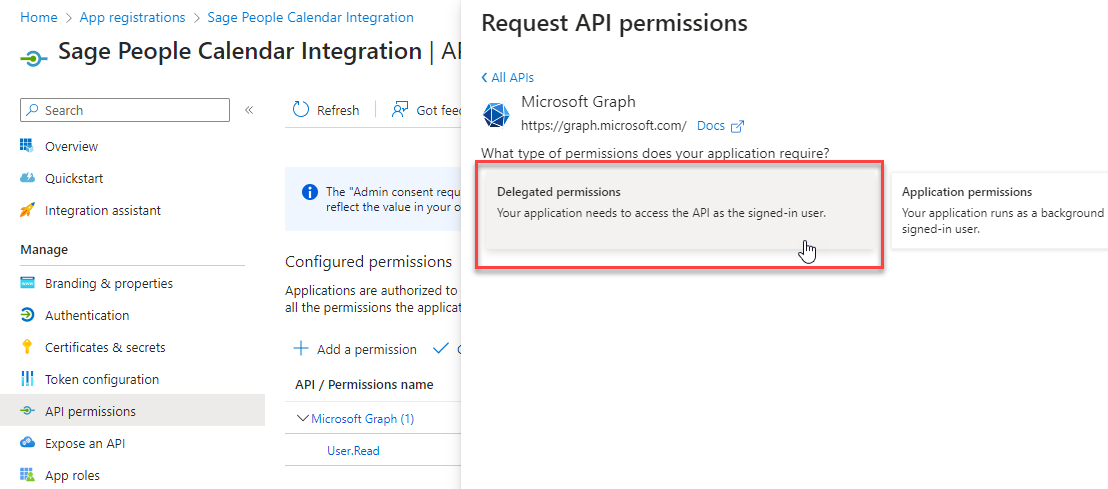
Select Microsoft Graph.
-
Select Delegated permissions.
-
Select the following permissions.
Under OpenId permissions, select:
-
offline_access
Scroll to the Calendars section, and select:
-
Calendars.ReadWrite
-
- Select Add permissions.
- Beside the User.Read permission, select the three dots context menu, and select Remove permission. The system adds this permission by default, but doesn't require it.
-
Select the Grant admin consent button above the permissions list. This grants the required permissions for all users in your Azure tenant.
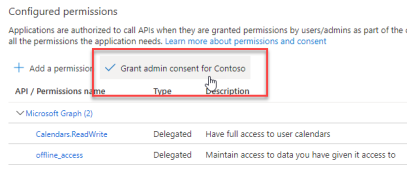
- Select Yes to confirm.
Provide information to the HR administrator
If different people are performing the Microsoft Azure and Sage People setup, make sure you share the information you saved with the Sage People HR administrator.
-
Application Client ID
-
Application Tenant ID
-
Client Secret value
You'll need this information in the next step, Add Azure details to Sage People.