Enhance Absence Rule lookup results
Learn how to add useful columns to the lookup you use when creating Absence Adjustments in Sage.
Resolution
Step 1 - Configure the search layout
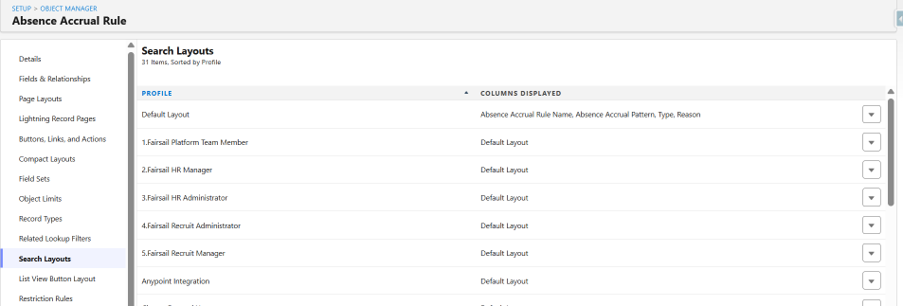
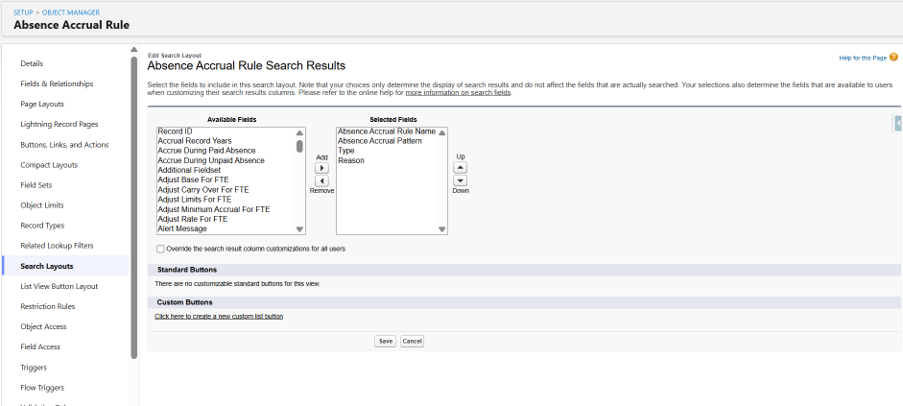
In Salesforce Setup, open the Absence Accrual Rule object. Amend the search results layout that the lookup uses.
-
Go to Setup and select Object Manager.
-
Select Absence Accrual Rule and click Search Layouts.
-
Open the Default Layout for the search layout.
-
Move the fields you want from Available Fields to Selected Fields.
-
Use Up and Down to control the display order.
-
Click Save.
Step 2 - Test the enhanced lookup
-
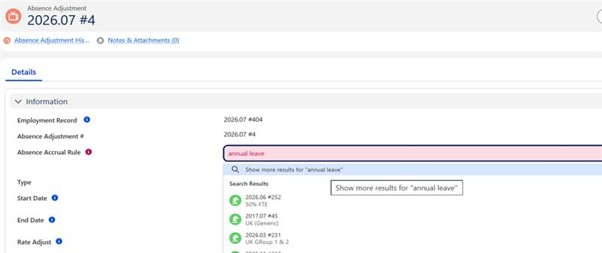
Open an Absence Adjustment record. Enter a value such as Annual Leave in the Absence Accrual Rule lookup.
-
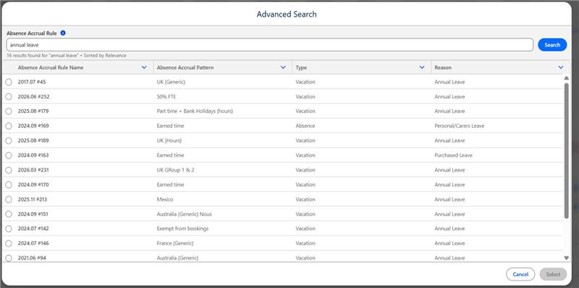
Select Show more results for the search item.
-
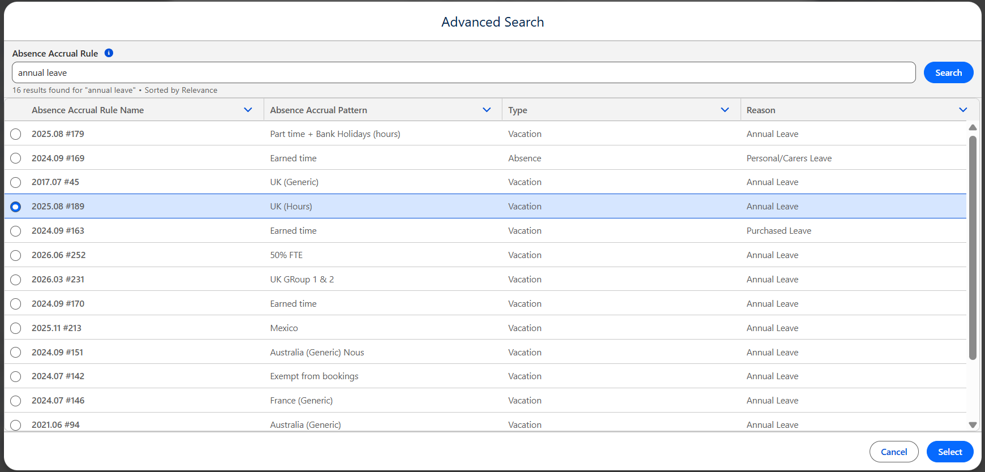
Confirm the Advanced Search results display the extra columns in the order you configured.
-
Select the correct rule.