![]()
Your WX logo is displayed at the top left of the page, and at the bottom right of the page, above the page footer.
You can load your own logo to replace the default logo. The displayed logo can be controlled at two levels:
-
Use the HCM Configure page setting to use an organization-wide logo as a default.
-
Use the policy setting to use different logos for different policies used by your organization. A logo set at the policy level overrides the default logo set on the HCM Configure page.
Logos are loaded as Static Resources for your org. Each logo must have a unique name within your org.
Logo images should be:
-
Minimum 64px height
-
Maximum 256px width
-
PNG format with a transparent background.
The logo is resized to fit the space, maintaining its aspect ratio. The logo is displayed with a maximum height of 64px in the bottom right of the page and 48px in the header. The maximum width is 256px.
The logo image is displayed on a gray background in the bottom right of the page, so we recommend you use a PNG file with a transparent background.
Check your logo for compatibility with all screen sizes you plan to use. Large logos can be compressed and may become unreadable at smaller screen sizes.
To upload a logo file:
-
In Salesforce Lightning Experience go to Setup > Custom Code > Static Resources.
-
Select New above the list.
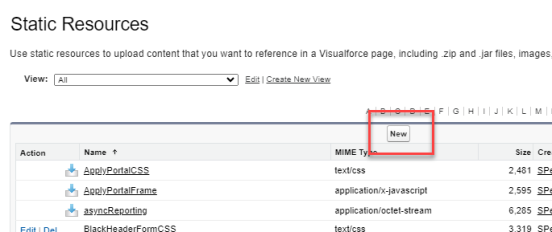
Sage People displays the Static Resource Edit page.

-
Complete the fields as follows:
Field Description Name Enter the name you want to use for this logo. Description A brief description for the file as you want it displayed in the list of Static Resources. File Select Browse, find and select the image file you want to use. -
Select Save.
Sage People loads the file and adds it to the list of Static Resources for your organization.
-
Repeat the procedure to add as many logo files as you need.
-
Go to Setup > Platform Tools > Apps > Packaging > Installed Packages and select Configure for the Human Capital Management package.
-
On the Configure page scroll down to the WX Setup section and in Company Logo enter the name of the Static Resource holding the default logo for your organization.
-
Select Save.
-
To add a logo to display to Team Members assigned to a specific Policy:
-
Select the Policies tab.
-
Select Edit for the Policy controlling the version of WX you want to rebrand.
-
Scroll down to the WX section at the bottom of the Policy.
-
In WX Logo, enter the name of the Static Resource holding the logo.
-
Select Save.
-
Next time you log in or refresh WX, the new logo is shown:
![]()