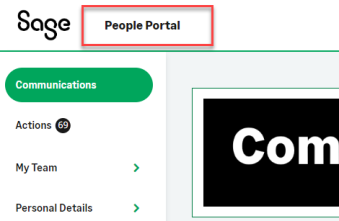
You can use your own title for Sage People WX. You can apply your title by user language or by Policy, or use the Policy setting to further customize a language setting.
You can also hide the title.
Change the WX title for a policy
To change the WX title, use the WX Title policy setting on the policy page:
-
In the HR Manager portal, open the Policies tab.
-
Select the policy for which you want to update the WX title.
-
Select Edit.
-
Scroll to the WX section.
-
In the WX Title field, enter your new title.
-
Select Save.
For more information about the policy settings for WX, see Policy options: WX.
Change the WX title for a specific language
To change the title for a user language, so all users with the language assigned see the new title:
-
In Salesforce Lightning Experience go to Setup > User Interface > Custom Labels.
-
Sort on the Name column and navigate to the label name Collaboration Portal Title.
-
Select the label name.
-
In the Local Translations / Overrides Related List, select New Local Translations / Overrides.
Sage People displays the New Translation page.
-
Select Save.
Hide the WX title
You can hide the WX title if you are using an image to apply branding to your WX and a text title is not needed.
Use the Hide WX Title checkbox on the Policy page.
