Setting up DocuSign to connect to Sage People uses standard DocuSign functionality. This topic describes the essential steps to follow - for more information on DocuSign go to https://support.docusign.com/en/home.
A step in this task requires you to upload a configuration file to DocuSign. Ask your Customer Success Manager for the DocuSignToSFConfig2.xml file before starting these steps.
-
Log in to the DocuSign account you want to use with Sage People.
-
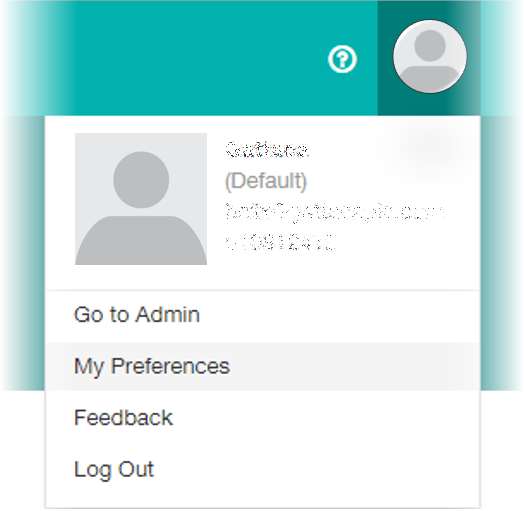
Select My Preferences:
-
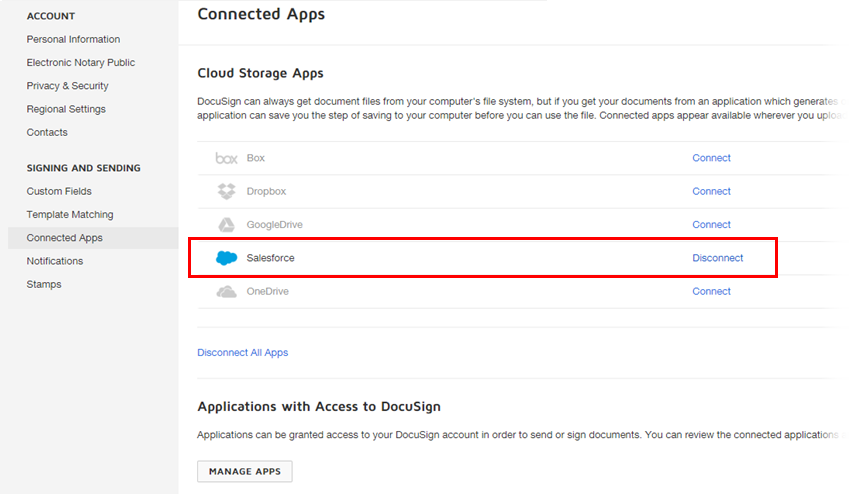
In the left navigation panel, select Signing and Sending > Connected Apps.
-
In the list of Cloud Storage Apps find Salesforce and select Connect:
-
On the DocuSign Connect for Salesforce page, enter the connection details for your Sage People org including a valid User Name and Password. Remember to include your security token if DocuSign is not part of your trusted environment.
-
Select Save.
-
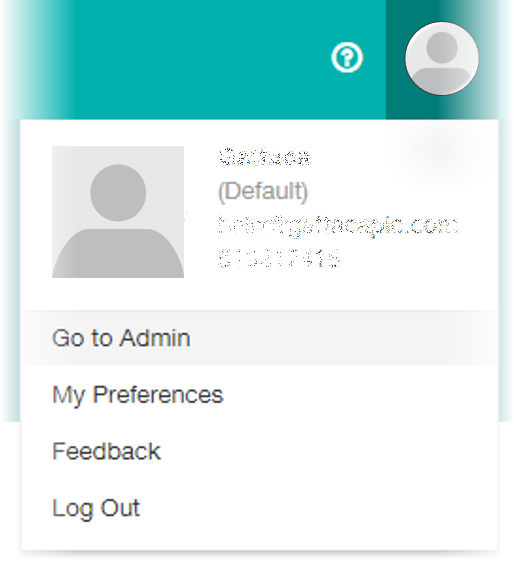
Select Go to Admin:
-
In the left navigation panel, select Integrations > Connect.
TipIf Connect is not displayed under Integrations, contact DocuSign and request it.
-
Select Enable.
-
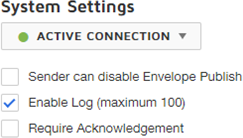
Under System Settings check Enable Log:
The Log helps trace operation and it is useful if documents are not processing as you expect.
-
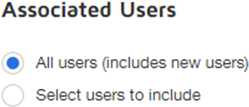
Select the users you want to integrate:
-
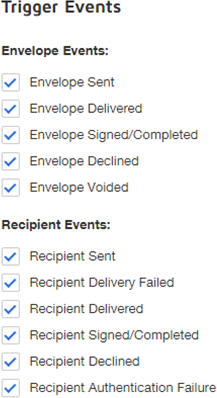
Under Trigger Events, select the checkboxes to enable messaging for the envelope and recipient events you want to see. Typically, select all for testing and initial operation:
-
Select Save.
-
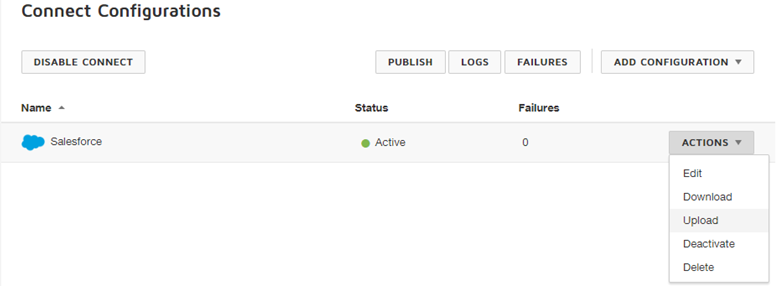
Select Actions > Upload:
-
Find and select the file:
DocuSignToSFConfig2.xml
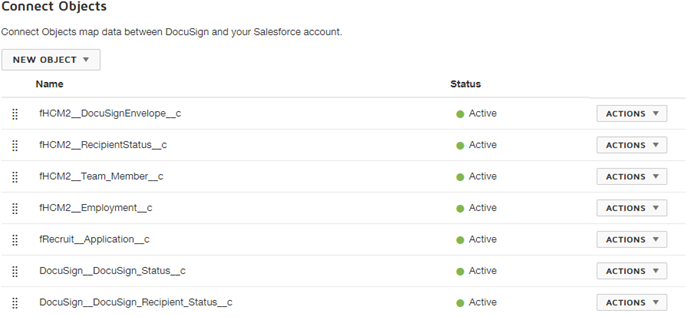
This file contains the default object-level mapping between Sage People and DocuSign.
-
DocuSign asks you to confirm, select OK.
If you redisplay the Salesforce Connect configuration, DocuSign displays the configuration details including the default mapping:
-
Select Go to DocuSign:
-
In the top navigation bar, select Templates, then select New > Create Template:
-
Enter a Template name and upload your document.
-
A template can contain multiple documents.
-
Choose an Online Document enables you to select a document from Box, Google Drive, Salesforce, or other online source.
-
-
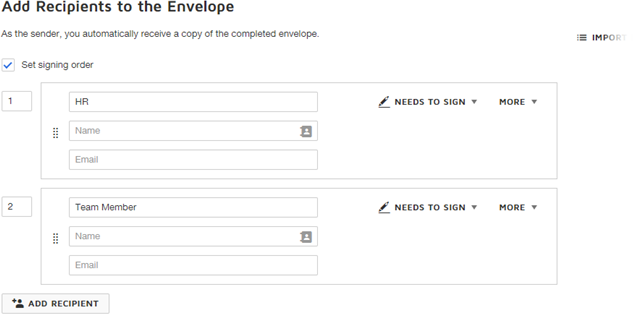
In the Add Recipients to the Envelope section, add Recipient Roles for each type of recipient, and indicate the routing order to be followed when the document is distributed.
For example, for a form to be completed and signed by HR before being sent to an employee for signature, add HR and Employee roles, and set HR with Order number 1, Employee with Order number 2:
-
Leave Email and Name blank—these are supplied by Sage People on distribution.
-
Roles can be repeated in the Order sequence for forms needing completion and validation in multiple stages.
-
-
In the Message section, customize the Subject line and add a message to send with the document.
-
Select Next.
DocuSign prompts you to tag the document.
-
DocuSign displays the form for tagging. Drag and drop the tags from the left panel onto the form data fields for each of the recipients you have defined.
-
Make sure all fields requiring completion are tagged. Data cannot be extracted, or mapped to Sage People from untagged fields.
-
Create Custom Tags to tag fields not covered by the Standard tags.
-
Set Custom Tag properties to validate input using one of the supplied masks, for example for zip code, or by specifying a regular expression (regex), for example for Social Security Number.
-
In Tag properties you can set the recipient from your list of Recipient roles. This dictates who can complete or edit each field and is particularly important for the Signature fields.
NoteDocuSign Tags are also known as Tabs. Tags in the form within DocuSign become Tabs when returned to Sage People. The two terms are synonymous.
-
-
When you have finished tagging the form, select Save and Close.
-
Select Go to Admin:
-
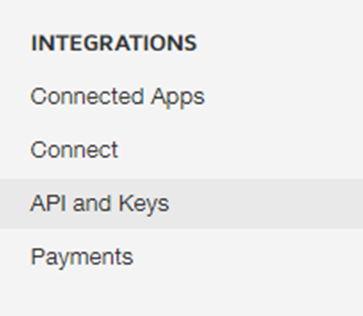
Select Integrations > API and Keys:
-
Copy the API Account ID and save it for use when setting up Sage People HCM for DocuSign.
