Configuring and customizing email templates
The following Candidate Experience portal email templates have associated configuration steps before they can be used:
-
Privacy notice rejection email
-
New member welcome email
You can use the remaining default email templates as supplied or customize them to match the needs of your organization.
Customizing Candidate Experience portal email templates can include changing:
-
Images
Including logos and brand related imagery
-
Text strings embedded in the templates.
You can open a template and edit the text strings directly.
-
Values inserted using merge fields.
Delete unwanted merge fields or replace then with merge field links to your own choice of custom fields.
-
Custom labels
To change the generic English text supplied for a template or create and edit local language variants.
Go to Setup > User Interface > Custom Labels to change the values of individual labels.
-
Used to provide links to email templates by recording the template Ids. To completely replace one of the default templates with your own, change the custom metadata to point to the correct template. If you create your own templates and want to replace the defaults, ensure you store them in the same Candidate Portal folder so that they can be easily linked to your portal through custom metadata settings.
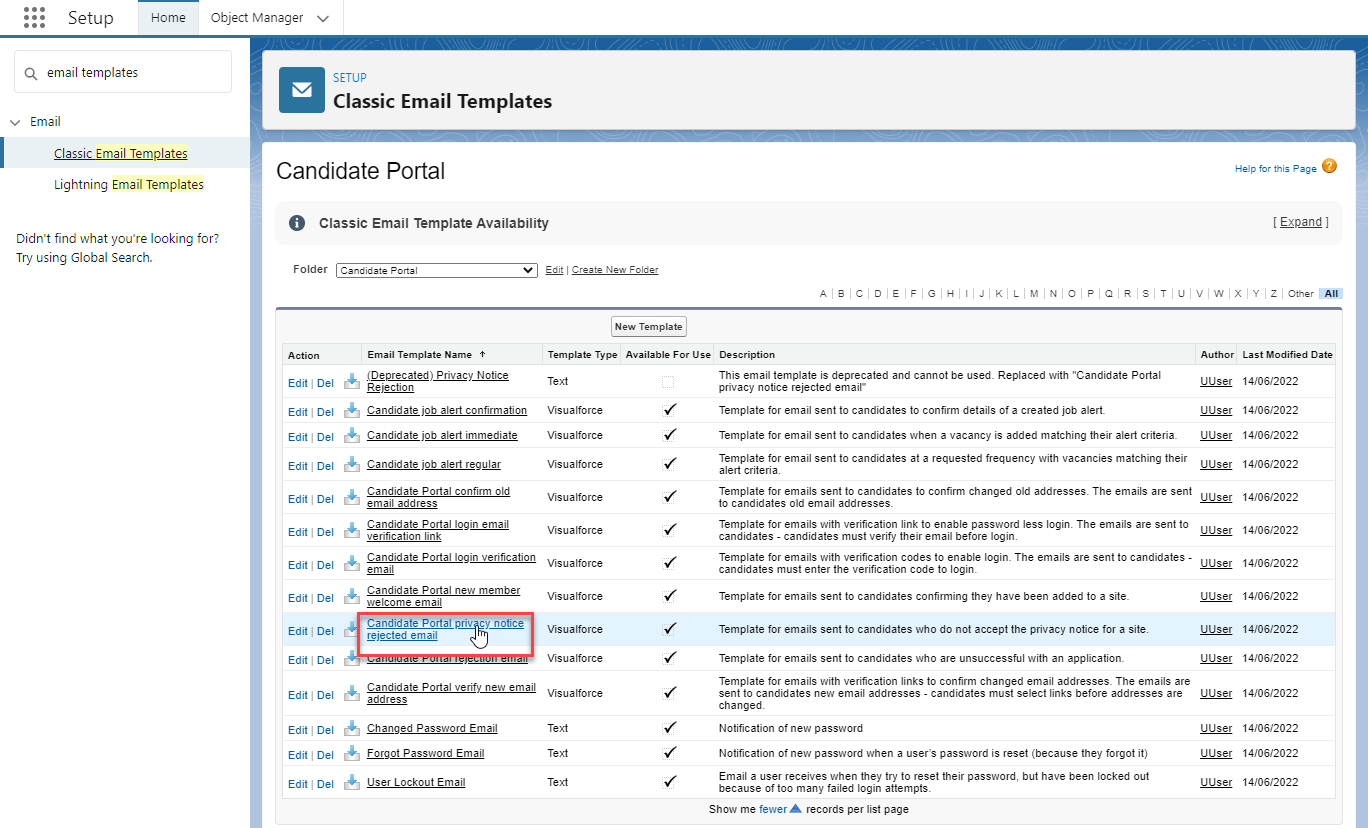
To configure the content of an email:
-
In Setup, go to Classic Email Templates.
-
Select the Email Template Name.
-
Select Edit Template.
-
Edit the message as required and select Save.
To use a logo in an email template, load it to your Documents tab using Salesforce Classic and use the document URL in the template:
-
Switch to Salesforce Classic.
-
Select the Documents tab.
-
On the Documents Home page select New.
-
Enter the details. Ensure you check Externally Available Image.
-
Browse to select the logo file.
-
Select Save.
-
When the logo file has loaded, select the Documents tab.
-
On the Documents Home page select the Document Folder where you stored the logo and select Go to display the folder contents.
-
Select the Name of the logo file to display the Document Detail page.
-
On the Document Detail page right click the image and copy the image link. This is the URL you need to insert in the email template.
To add your organization's logo to the template, stay in Salesforce Classic:
-
Go to Setup > Communication Templates > Classic Email Templates.
-
Select the Candidate Portal folder.
-
Select the Name of the template you want to edit to add the logo.
-
On the Email Template Detail page scroll down to the Email Template section and select Edit Template.
-
Insert the image URL copied from the logo image where you want the logo to appear.
If your template is displayed as HTML ensure the URL is correctly identified as an image by using HTML img tags and enclosing the URL with double quotes:
<img src="your_image_URL"></img>
replace your_image_URL with the image URL copied from the logo image.
-
Select Save.