Add a page
Add pages to create new areas within your Candidate Experience Portal site.
To create a new page:
-
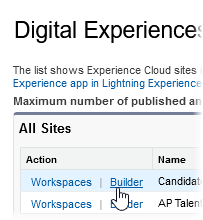
Go to Setup > Feature Settings > Digital Experiences > All Sites.
-
For the Candidate Experience Portal site select Builder:
-
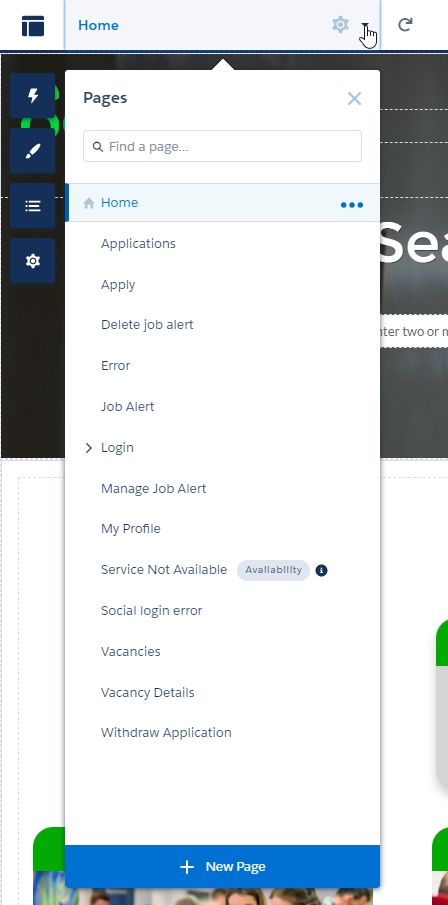
Select the Pages menu at the top of the screen.
-
At the bottom of the menu, select + New Page.
-
Select Standard Page then select + New Blank Page.
-
Select Flexible Layout, then select Next.
-
Give the page a name and an API Name.
-
Select Create.
-
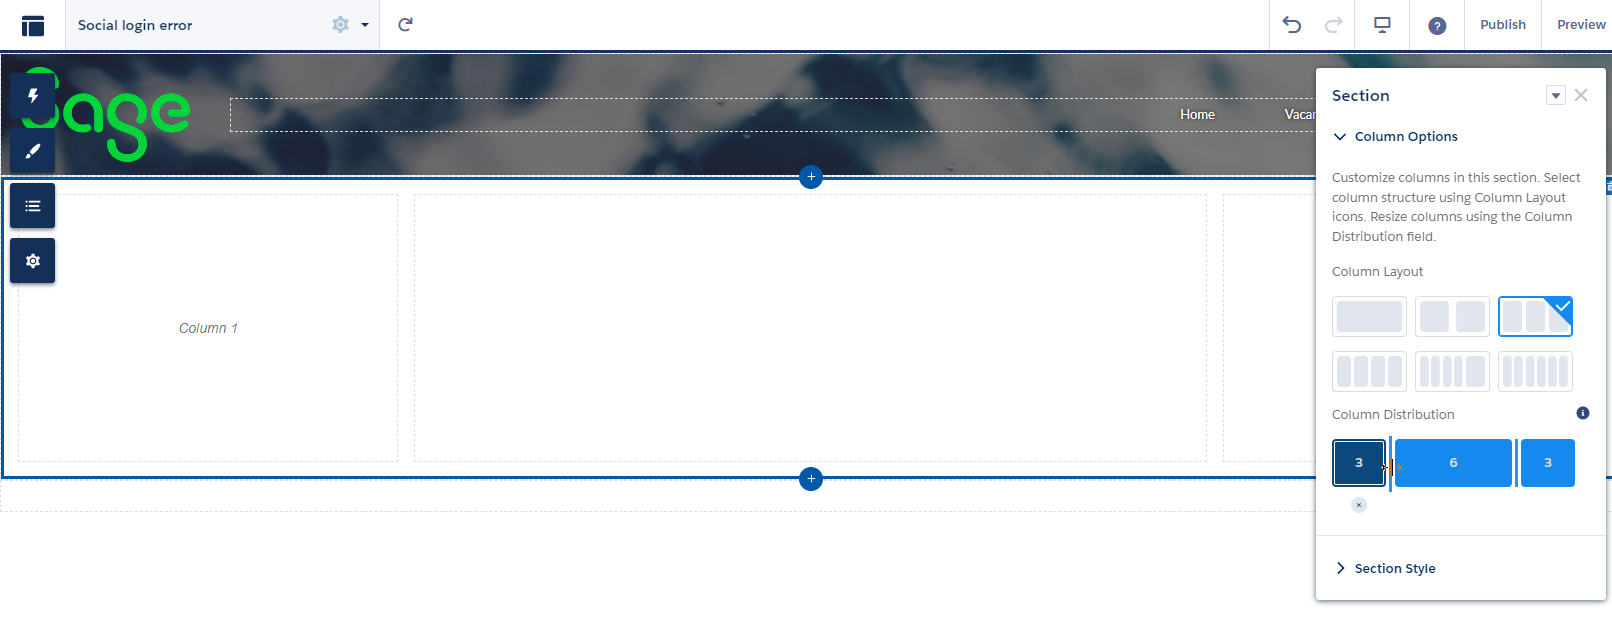
Select the blank section area to adjust the column layout and column distribution of the page.
When you have added a new page, you should give your users a way of finding the page. This could be, for example, a link to the page from a tile menu on your home page, or you could add the page as a link in your site's main navigation bar.
Add pages to the navigation menu
To add the page to the main site navigation menu:
-
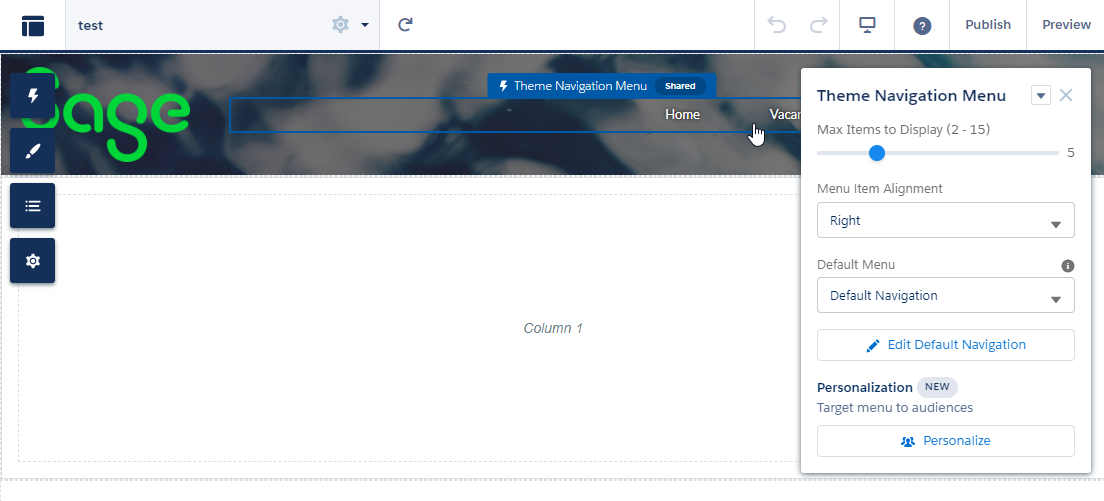
Select the Theme Navigation Menu area of the page.
-
Select Edit Default Navigation.
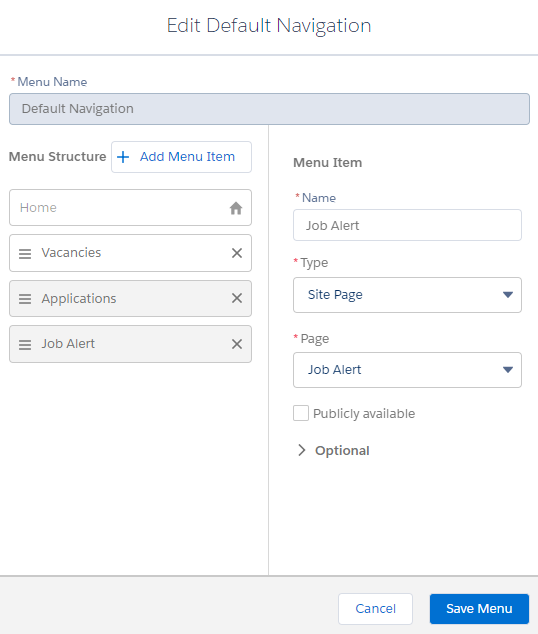
-
Select + Add Menu Item.
-
Give the menu item a name.
-
For Type, select Site Page.
-
From the Page menu, select the page you want to add top the navigation.
-
Select the Publicly available checkbox if the menu item should be visible to users who are not logged in.
-
Drag the menu item to the correct position in the Menu Structure list.
-
Select Save Menu.